🖼️ What Is a “Print-Ready” File?
Here’s what we mean by “print-ready” at 24 Hour Tees®:
- ✅ High-resolution (300 DPI or higher)
- ✅ Proper file type (Vector preferred, high-res PNG accepted)
- ✅ Sized correctly for your print area
- ✅ Clean background (transparent when needed)
- ✅ Colors set up for accurate reproduction
- ✅ Centered & aligned properly on the artboard
🔍 Why File Quality Matters
- Blurry prints due to pixelation
- Off-centered artwork
- Unexpected white boxes around designs
- Delayed production while we wait on a corrected file
And we’re not in the business of disappointing customers—so let’s talk about how to avoid that.
🧠 Our Best Practices for Print-Ready Files
1. Choose the Right File Format
Preferred | Accepted (if high-res) | Avoid |
AI (Adobe Illustrator) | PNG (transparent background) | JPG (unless large) |
EPS | PDF (vector exported) | Screenshots |
SVG | Word docs, low-res PNGs |
💡 Pro Tip: If your logo or design was created by a designer, ask for the vector version!
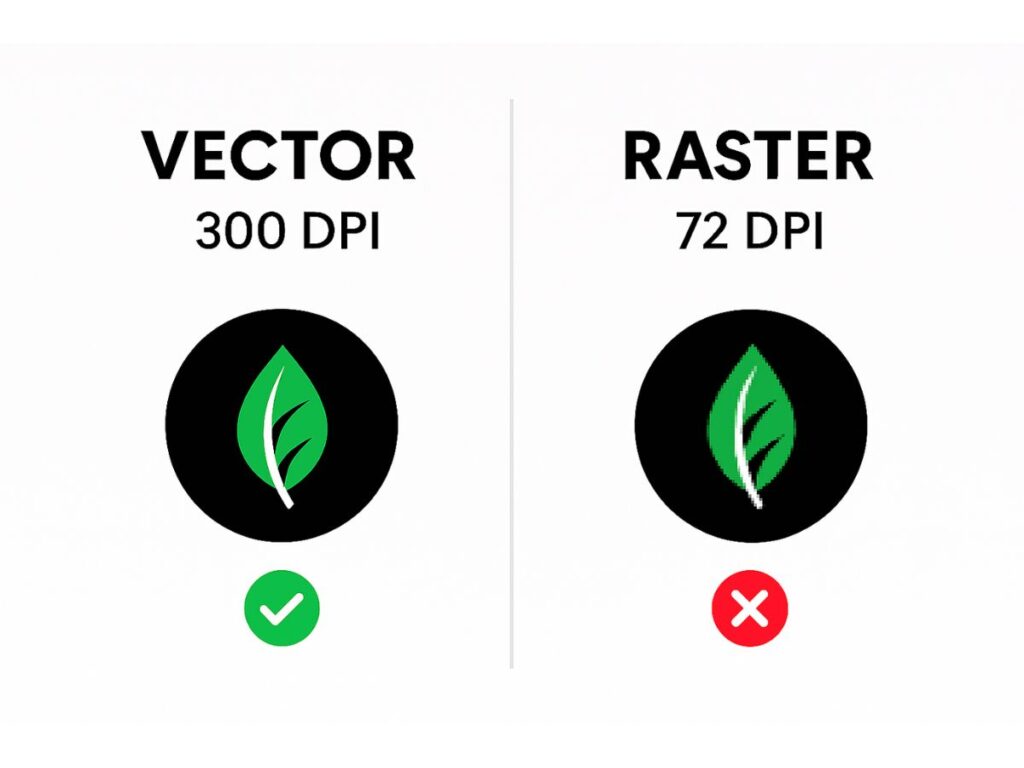
2. Stick to 300 DPI or Higher
- Open your file in Photoshop or Illustrator and check the image size/resolution
- If you’re unsure, email us—we’ll review it for free
3. Keep Backgrounds Transparent (When Needed)
Not sure if your file has a transparent background? Open it in an image viewer or ask our team to check.
4. Size It Right
🔸 Back designs: Can be larger, depending on placement
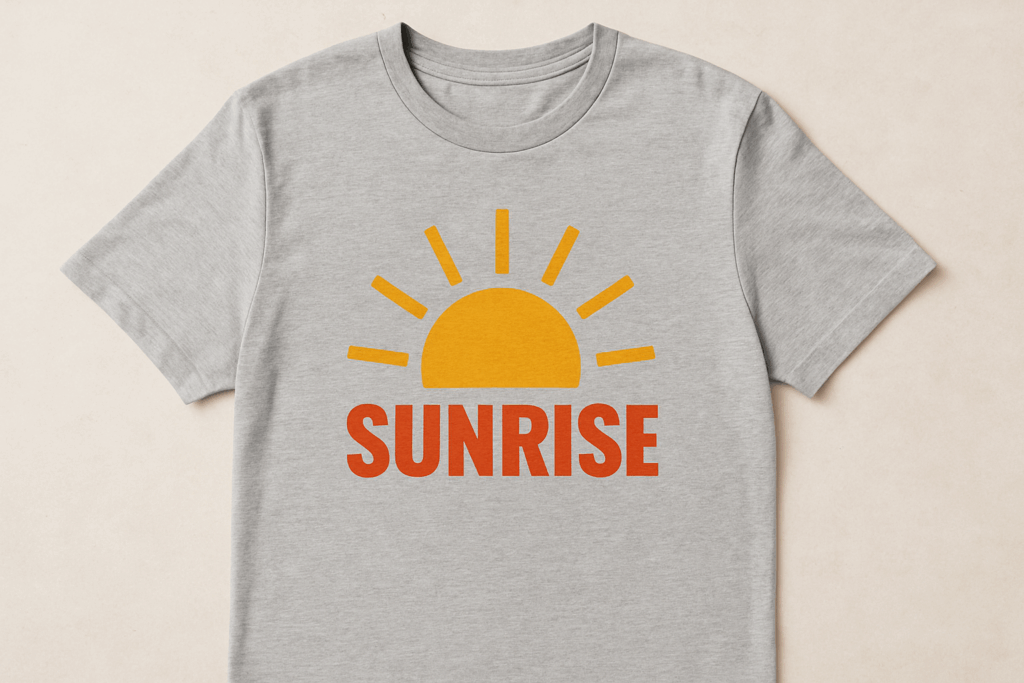
Need help visualizing it? Use our Online Designer to see how it looks live.
5. Align and Center the Artwork
💡 We’ll always double-check placement, but a well-centered file saves time (and helps prevent mistakes).
🎁 Bonus Tip: Ask Us for Help (It’s Free!)
If you’re not 100% confident your file is print-ready, let us check it. Seriously.
We can even help convert JPGs or PDFs into print-ready formats for you.
🧵 Common File Issues We See (and How to Fix Them)
❌ Issue | ✅ How to Fix It |
Blurry when enlarged | Send vector or high-res file (300 DPI) |
White box around design | Export PNG with transparent background |
Off-center design | Align artwork to canvas center |
Colors print differently | Use Pantone or CMYK values if needed |
Wrong file type | Export from Canva/Photoshop as PNG or PDF |
🧭 Final Thoughts: Keep It Clean, Clear & Centered
- Use vector or high-res files
- Keep backgrounds clean or transparent
- Size and center your design
- Ask us for help if you're unsure
Want to see your design on a shirt right now? Try our Online Designer — and if your file isn’t perfect yet, we’ll help you get there.